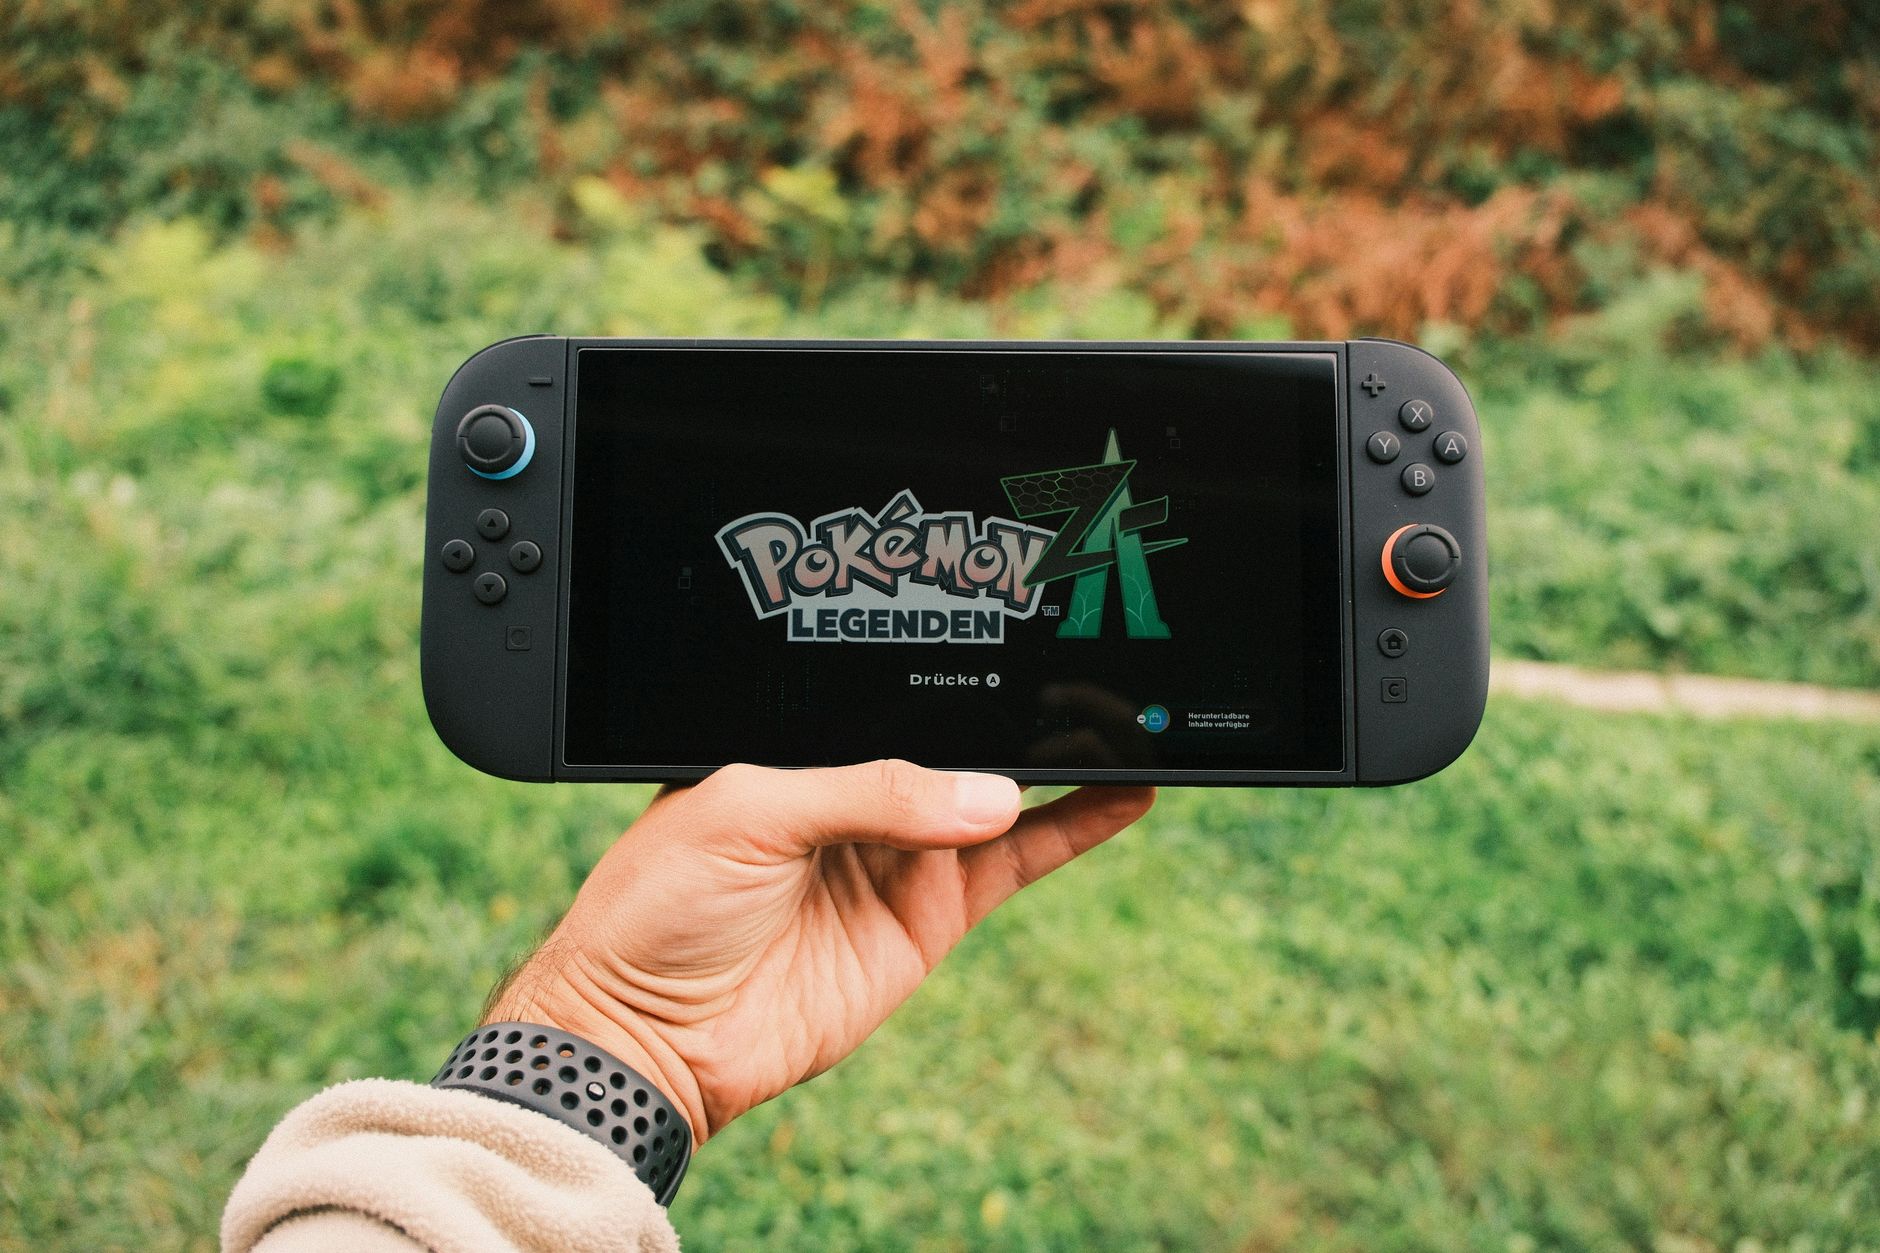

To use the Nintendo Switch 2 dock, connect the USB Type-C cable into the AC adapter port using the dedicated Nintendo Switch 2 AC adapter, then plug it into a wall outlet. Next, use the included Ultra High Speed HDMI cable to link the dock to your television or monitor before closing the back cover and inserting your console.
Understanding the Nintendo Switch 2 Dock Layout
Before connecting your cables, it helps to familiarize yourself with the physical layout of the hardware. The Nintendo Switch 2 dock is designed with an array of inputs and indicators to streamline both wired networking and power delivery.
On the front of the dock, users will find USB 2.0 port(s) alongside a TV output LED that illuminates to indicate when the console is successfully transmitting video to an external display. Opening the back cover reveals the primary connection hub:
- Air vent: Essential for thermal management while the console operates in high-performance TV mode.
- AC adapter port: The designated input for supplying power to the system.
- HDMI port: The output terminal for video and audio transmission.
- LAN port: A built-in ethernet connection for stable, wired online gaming.
Step-by-Step Connection Guide
Setting up your console for big-screen gaming requires specific hardware components to ensure stability and performance. Follow these exact steps to connect your system correctly.
- Open the back cover of the Nintendo Switch 2 dock.
- Connect the USB Type-C plug from the Nintendo Switch 2 AC adapter (model No. NGN-01) into the AC adapter port on the dock.
- Connect the AC plug from the adapter directly into a standard wall outlet.
- Take one end of the Ultra High Speed HDMI cable included with your console and plug it into the HDMI port on the dock. Connect the opposing end into an available HDMI port on your television or monitor.
- Close the back cover of the dock neatly around the routed cables.
- Remove the left and right Joy-Con 2 controllers from the console by pressing the release buttons on the back of each controller and sliding them upward.
- Lower the Nintendo Switch 2 console vertically into the dock slot until it rests securely on the internal USB-C connector.
Hardware Compatibility Comparison
Because the Nintendo Switch 2 features upgraded hardware specifications and power draws, several legacy accessories from the original platform are incompatible with the new dock. Review the hardware requirements below to avoid technical errors during setup.
| Accessory Component | Original Nintendo Switch | Nintendo Switch 2 Requirement |
|---|---|---|
| AC Adapter | Standard Switch AC Adapter | Nintendo Switch 2 AC Adapter (MOD. NGN-01) |
| HDMI Cable | Standard High-Speed HDMI | Ultra High Speed HDMI Cable |
| Controllers | Standard Joy-Con | Joy-Con 2 Controllers |
By ensuring that you are utilizing the official power supply and high-speed data cables provided in the box, your Nintendo Switch 2 dock will safely output high-definition visuals and maintain stable charging performance during extended gaming sessions.
Frequently Asked Questions
Can I use my original Nintendo Switch AC adapter with the Nintendo Switch 2 dock?
No. Due to differing power output requirements, the original Nintendo Switch AC adapter cannot be used with the Nintendo Switch 2 dock to support TV mode. You must use the Nintendo Switch 2 AC adapter (model No. NGN-01).
Can I use an older HDMI cable from my original Switch for the Switch 2?
No. The HDMI cable included with the original Nintendo Switch is not Ultra High Speed and cannot be used to play Nintendo Switch 2 in TV mode. You must use the Ultra High Speed HDMI cable included with the Nintendo Switch 2.
What ports are located on the Nintendo Switch 2 dock?
The back of the dock features an air vent, an AC adapter port, an HDMI port, a LAN port, and the back cover. The front and internal layout include USB 2.0 port(s) and a TV output LED indicator.
References & Sources
- How to Connect a Nintendo Switch 2 Console to a TV | Nintendo Support
- Nintendo Switch™ 2 Dock Set - Nintendo Official Site
- Nintendo Switch 2 | Connect To Dock | Insert Game Cartridge
- Nintendo Switch 2 Dock Diagram | Nintendo Support
- How to properly dock the Switch 2? : r/NintendoSwitchHelp
Editorial Note: This article was researched via verified live web sources and published on 2026-10-04. Questions or feedback? Contact the editorial staff at TrendsInNews.
Photo credit: Daniel J. Schwarz / Pexels