
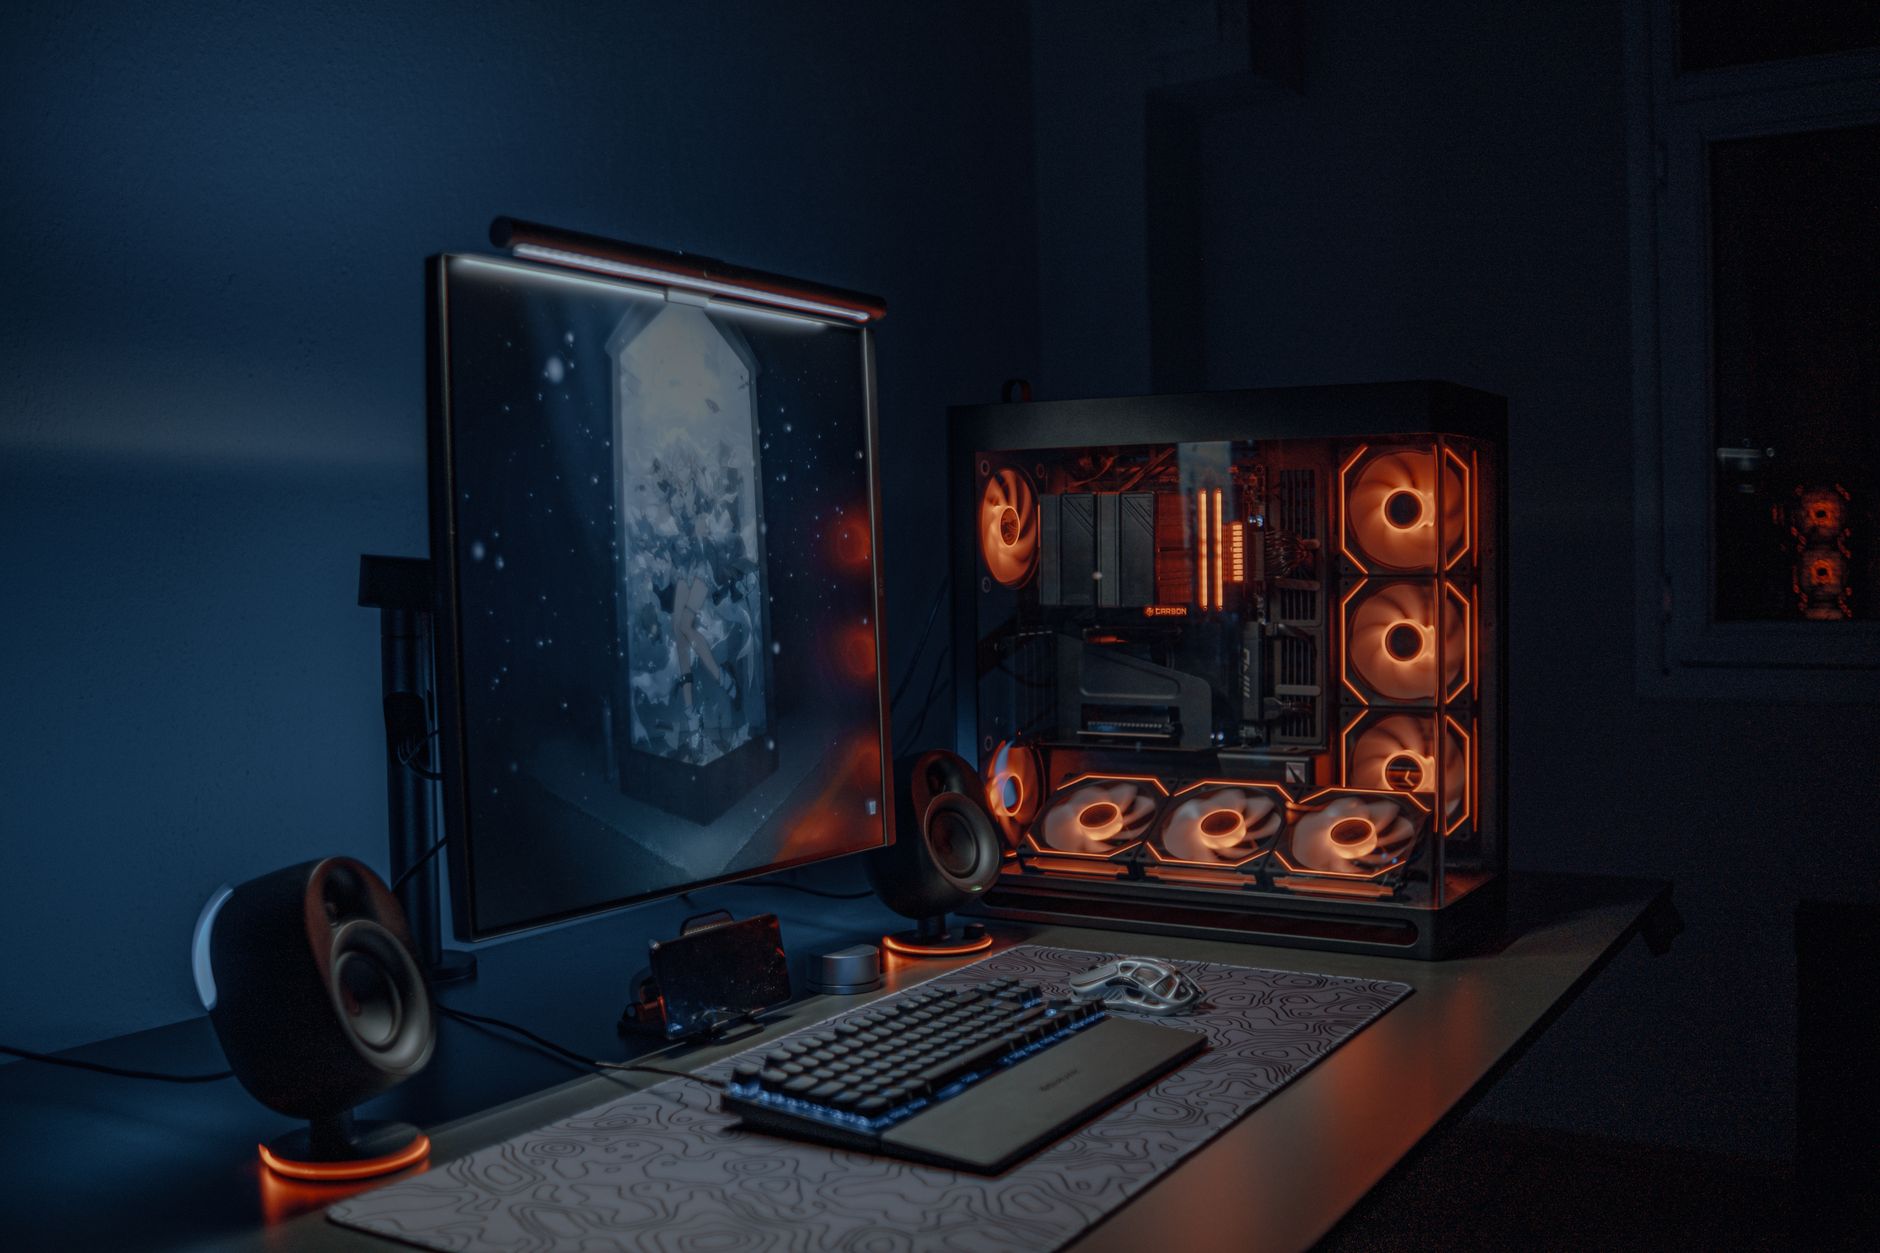

Assembling a custom computer takes roughly three hours of hands-on time once your components are unboxed. Success requires matching your processor and graphics card to your monitor's display resolution, choosing a stable power supply, and configuring critical security settings in the BIOS before installing the operating system.
Setting Your Budget and Hardware Goals
Target display resolution determines how much you need to spend on core hardware. The graphics processing unit remains the most expensive component in any gaming rig, soaking up a major portion of your overall allocation.
Entry-level configurations capable of 1080p run between $800 and $950. Stepping up to the 1440p sweet spot requires $1,300 to $1,700, while uncompromising 4K setups sit at $2,500 and higher. Current market conditions mean building your own system saves only $100 to $300 on a $2,000 build compared to buying a prebuilt PC, especially after factoring in operating system licenses and shipping fees.
| Performance Tier | Typical Cost | Recommended CPU | Recommended GPU |
|---|---|---|---|
| 1080p High-Refresh | $800–$950 | AMD Ryzen 7 7600X3D | Nvidia RTX 5060 (8GB/16GB) |
| 1440p Sweet Spot | $1,300–$1,700 | AMD Ryzen 7 7800X3D | Nvidia RTX 5060 Ti 16GB |
| 4K High-End | $2,500+ | AMD Ryzen 7 9800X3D or 9850X3D | Nvidia RTX 5080 or RTX 5090 |
Component Selection Priorities
Memory pricing has shifted build economics significantly. Driven by AI data center demand and tight SK Hynix supply projected through 2030, a standard 32GB DDR5-6000 memory kit costs $400 to $470 in 2026, up from $80 to $120 in mid-2025. Despite the cost, 32GB of DDR5 is the recommended floor for modern titles, as 16GB creates severe performance limits and 64GB kits exceed $800.
For processors, AMD's AM5 platform with 3D V-Cache dominates gaming choices. The Ryzen 7 7800X3D serves as the top value pick, the Ryzen 7 9800X3D represents the performance sweet spot, and the Ryzen 9 9850X3D occupies the enthusiast tier. On a stricter $1,000 budget, the Ryzen 7 7600X3D delivers strong 1080p frame rates when paired with an RTX 5060.
Nvidia's RTX 50 series remains the current graphics generation for the next 18 months, as the RTX 60 series is delayed until at least 2028. High demand has pushed the RTX 5080 to street prices between $1,550 and $1,700, while the top-tier RTX 5090 trades between $4,500 and $5,000. For mid-range builders targeting 1440p, an RTX 5060 Ti 16GB provides the best balance of VRAM capacity and performance.
Tip: Always verify physical clearance and power requirements using PCPartPicker before buying. A high-tier graphics card can easily exceed the length limits of compact cases or overwhelm low-wattage units.
Required Tools and Preparation
Assembling a computer requires minimal specialized tooling. You will need a Phillips #2 screwdriver, an uncarpeted workspace, and adequate overhead lighting.
Work on a flat, static-safe surface such as a wooden table. Avoid assembling parts while standing on synthetic carpet, and touch a grounded metal object before handling sensitive circuitry to discharge static electricity.
Step-by-Step Assembly Guide
Completing core assembly outside the chassis prevents hand cramps and allows easier access to compact headers. Work methodically through the following physical steps:
- Prep the motherboard: Place the motherboard on top of its cardboard packaging box rather than the anti-static bag, which can conduct electricity across external surfaces.
- Install the processor: Open the AM5 or Intel LGA1851 socket latch. Align the triangle indicator on the CPU with the corner marking on the socket, set the chip straight down without pressing, and lower the retention arm.
- Install the M.2 SSD: Insert your Gen 4 NVMe drive into the primary M.2 slot closest to the CPU socket, secure it with the retention screw or latch, and reinstall the motherboard heatsink.
- Mount the CPU cooler: Secure the mounting brackets to the board, apply a pea-sized dot of thermal paste if your cooler does not feature pre-applied paste, and fasten the heatsink evenly.
- Insert the RAM modules: Open the retention clips on slots two and four. Align the notch on each DDR5 stick and press down firmly on both ends until the clips snap closed.
- Mount the motherboard: Position the rear I/O shield, align the board onto the chassis standoffs, and tighten the mounting screws in a cross pattern without overtightening.
- Install the power supply: Slide the power supply into the bottom compartment of the case, orientation determined by your case's intake vent, and secure it with four chassis screws.
- Connect front panel wiring: Route your front-panel USB, audio, and power switch headers to the lower edge of the motherboard, referencing your manual for pin assignments.
- Install the graphics card: Remove the corresponding metal PCIe expansion brackets on the back of the case. Seat the GPU into the primary PCIe x16 slot until the retention latch clicks, then secure the metal bracket with chassis screws.
- Mount additional storage: Secure any secondary SATA or 2.5-inch drives into their respective chassis sleds and attach data and power lines.
- Manage cabling: Route your 24-pin motherboard, 8-pin CPU, and dedicated PCIe power cables neatly through rear cutouts to ensure clean internal airflow.
Initial Boot and BIOS Setup
Connect your monitor to the graphics card display port, not the motherboard video output. Plug in a keyboard and mouse, toggle the power supply switch to on, and press the chassis power button while tapping the Delete or F2 key to enter the system firmware.
Confirm the motherboard detects your processor, memory modules, and Gen 4 NVMe drive. Enable memory profiles such as AMD EXPO or Intel XMP so your DDR5 RAM runs at its rated 6000MHz speed rather than standard base clocks.
Tip: ToggleSecure Bootto enabled and ensure theTPM 2.0module is active before installing your operating system. Modern anti-cheat systems in titles likeBattlefield 6will lock you out if these settings are turned off.
Insert a Windows 11 bootable USB drive, exit the BIOS while saving changes, and follow the on-screen prompts to format the NVMe drive and install the OS.
Driver Installation and Thermal Verification
Once Windows loads, your first task is downloading platform software directly from hardware manufacturers. Install the latest AMD chipset drivers, network drivers, and dedicated GPU software packages.
Verify thermal stability by running hardware stress tests. Launch Furmark to push the graphics card and Cinebench to stress the processor. Keep an eye on system sensors: under full sustained load, your GPU should remain under 85°C, while the processor should stay under 80°C to prevent thermal throttling.
Mistakes to Avoid
Unbalanced spending leads to the most common system bottlenecks. Buying an ultra-high-end graphics card while pairing it with an inadequate CPU or low-speed storage prevents the GPU from operating at full potential.
Never skimp on the power unit. Always select an 80+ Gold power supply with sufficient wattage headroom to absorb the transient spikes typical of modern cards. Similarly, check onboard video memory when comparing GPUs; high texture packs in modern games punish configurations that lack adequate VRAM capacity.
Frequently Asked Questions
How long does it take to assemble a gaming PC?
Physical assembly typically takes about three hours of hands-on time once all components have arrived. Initial software installation, BIOS setup, and driver updates will add a short window afterward.
Is it cheaper to build a PC or buy a prebuilt system?
Assembling a PC yourself is only marginally cheaper, saving roughly $100 to $300 on a $2,000 system when factoring in operating system licenses and shipping. In some market conditions, prebuilt systems with full warranties can match or beat custom DIY pricing.
Why do I need to enable Secure Boot and TPM 2.0?
Modern competitive multiplayer titles, including Battlefield 6 and select Call of Duty releases, enforce these features via hardware-level anti-cheat systems. If disabled in the BIOS, these games will fail to launch.
How much RAM is required for gaming?
A minimum of 32GB of DDR5 memory is the baseline recommendation. Dropping to 16GB risks performance bottlenecks in modern titles, while 64GB remains unnecessary unless you run heavy workstation tasks.
Sources
Editorial note: This article was researched with AI-assisted tools, checked against the sources listed above and last updated on 2026-09-25. Spotted an error? Contact the TrendsInNews editors.
Photo: Atahan Demir / Pexels
